|
Physics Home Marone Home Parts List Introduction Experiments
Soda Bottle/Cup Speaker-Instructions
Instructions for building a speaker:
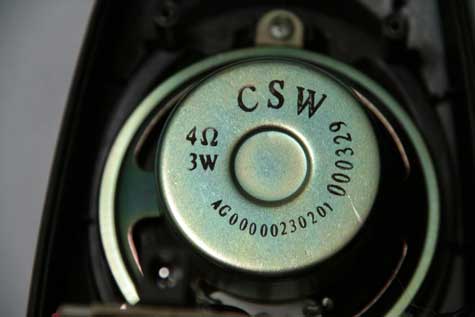
The most difficult part of building the speaker is winding the coil. First, you must determine the impedance of the speaker you want to build. Stereo speakers are often 8 Ohms, but you might find 4, 8or 16 Ohm speakers in audio systems. My computer speakers are 4 Ohms and I built Soda Bottle replacements for them. You can find the impedance marked on the back of the speaker.
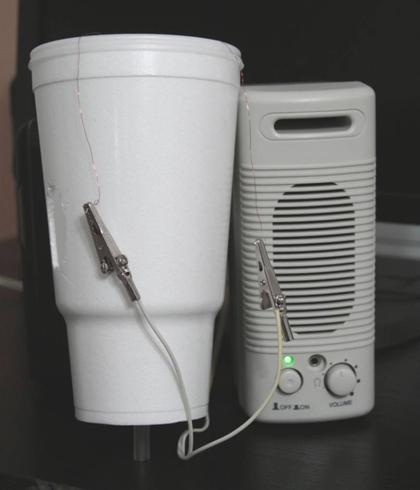
Do not try to connect a low impedance speaker to the headphone jack. Head phones are very high impedance devices and the speaker will load down the circuit. If you want to drive the Soda Bottle speaker from a headphone jack, it is best to use an amplifier. If you have a set of amplified computer speakers, you can use a Soda Bottle or Cup speaker to replace the actual speaker inside of the housing. As you can see, I have use Soda Cup speaker to replace one of my amplified computer speakers.
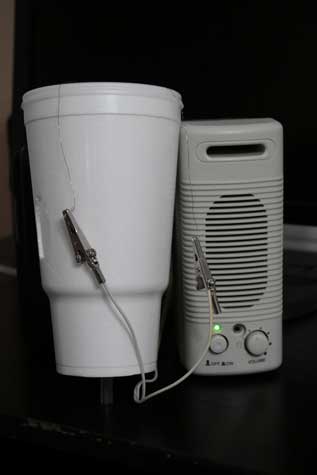
The Cup Speaker replaces my normal left speaker. I have also clipped a lead from the right speaker in the amplifier housing. That way I only hear the left speaker (Cup). This amplified speaker can now be plugged into any headphone jack without causing an impedance mismatch. You can use it with you tablet, mp3 player or other portable devices.
The tricky part about impedance (Z) is that it includes the resistance (R), inductive reactance( XL) and capacitive reactance (XC).
For my computer speaker replacements I constructed Soda Bottle Speakers with the following electrical properties at a frequency of 1.0kHz R=4.0 Ohms
Inductance L=0.07mH ( with the magnet in place)
Inductive reactance Xl=0.44 Ohms
Impedance at 1KHz Z=4.02 Ohms
The capacitance was negligible
This data shows that if you wind the coil based on the resistance you should be close enough at low frequencies. Above 15kHz the indcutive contribution would double the impedance of this speaker. Older adults will not notice the loss in high frequency responsse.
The first step is to make the coil. I often use #32 wire wrapped around a drinking straw. The coil must be free to move over the magnet; so the inner diameter of the straw must be a little larger than the magnet. You will need to wrap several meters around the straw. To determine the length required, measure out 1.0m of wire and determine the electrical resistance of the wire. You should always check the zero on your multimeter first. The lead resistance might be on the order of 0.5 Ohms and this could lead to an error in the length required. Once you know the resistance for 1m you can use a simple proportion to determine the required length.
I like to position the straw on a pencil and hold the wires in place with painter’s tape. This is shown below. You will need to make connections to the voice coil so leave long leads. About the length of the pencil should be long enough. Make a guide mark so you know how long to make the coil. The length should be 1/2 -3/4 of the magnet length. A thin coating of nail polish is applied to hold the wire in place. You can use a little nail polish on each layer to keep the coil from unwinding.
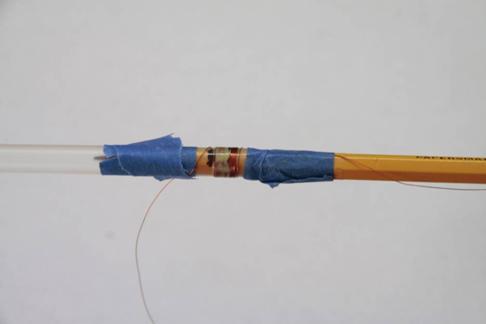
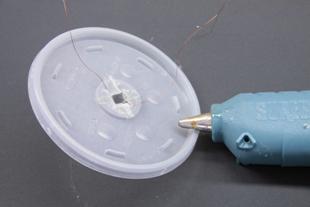
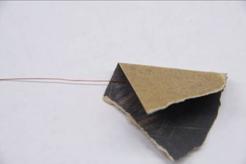
You will need several layers and always wrap in the same direction. Try to wrap uniformly. Once the coil is completely wound; cut off the remaining straw so that the edge of the coil is near one end of the straw and there is about 1-2 in of straw at the opposite end. We will also split the straw so that it looks as shown below. These split ends form tabs to connect the coil to the diaphragm. Then use hot glue to connect the tabs to the diaphragm material as shown below
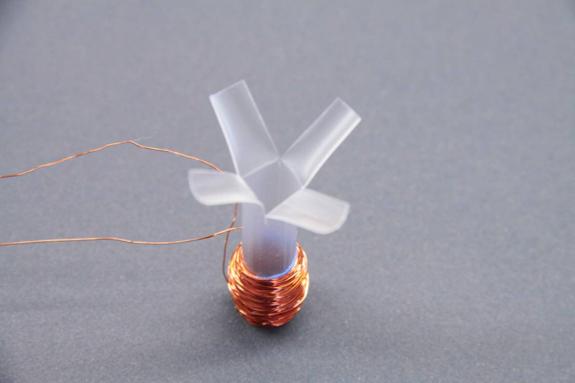
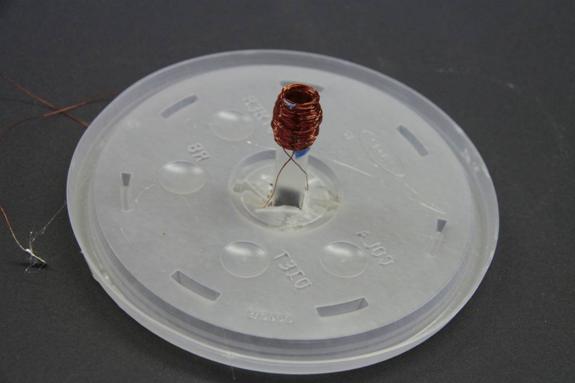
Now we can connect the coil to a diaphragm. The diaphragm can be any flexible material such as paper, a rubber glove, or a cup lid. The wire for the coil should be on the outside surface of the diaphragm as shown. Make a hole in the diaphragm that will be a tight fit for the straw. Hot glue the coil tabs in place. In the image shown below, the coil has been inserted through the center hole of a drink lid. It is necessary to cutback the triangular flaps that close around the straw in a normal lid. The coil should be centered.
On the left is a paper diaphragm and a drinking cup lid is shown on the right.
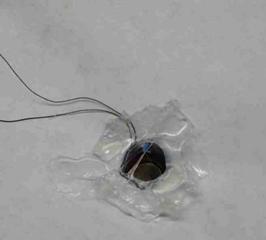
The final voice coil should look something like this with the glue flanges on the outside and the coil extending into the cup or bottle.
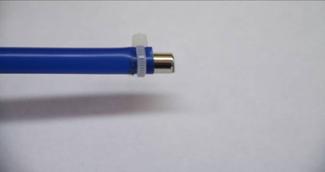
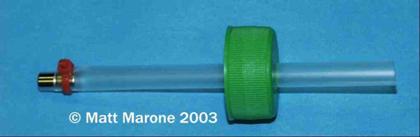
The next step is to make the magnet support. A strong magnet will be held in place by a second straw. This straw will go through the bottle cap or the bottom of the drink cup depending on the device you wish to make. The magnet is held in place with a wire tie.
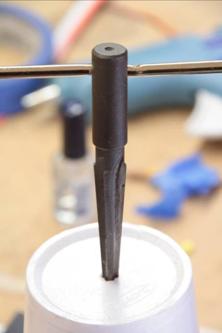
This will require making a hole in the cup or bottle cap. You can use an electric drill or for safety you may wish to use a reamer.
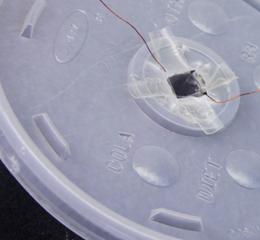
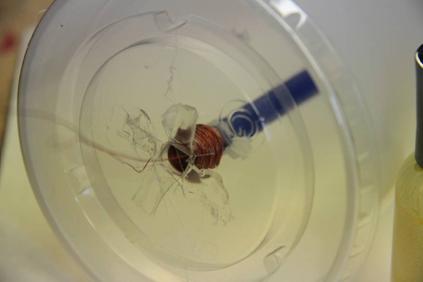
It is now time to attach the diaphragm to the frame of the speaker. For the cup speaker it will look something like this.
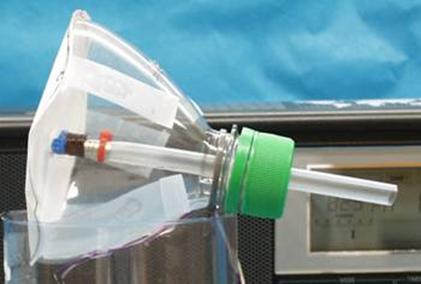
The bottle speaker will look like this
The magnet is inserted into the coil and the diaphragm is secured in place. Slide the magnet support forward so the magnet is in the coil. Do not insert too far or the coil will hit the wire tie.
The moment of truth has arrived. Connect the leads of your speaker to the amplifier and play some music.
Be sure to remove the insulation from the wires. It is best to use some fine sandpaper or emery cloth.
You may have to adjust the position of the magnet by using the magnet support. The sound quality can be improved by cutting some air vents along in the frame. Enjoy the music!